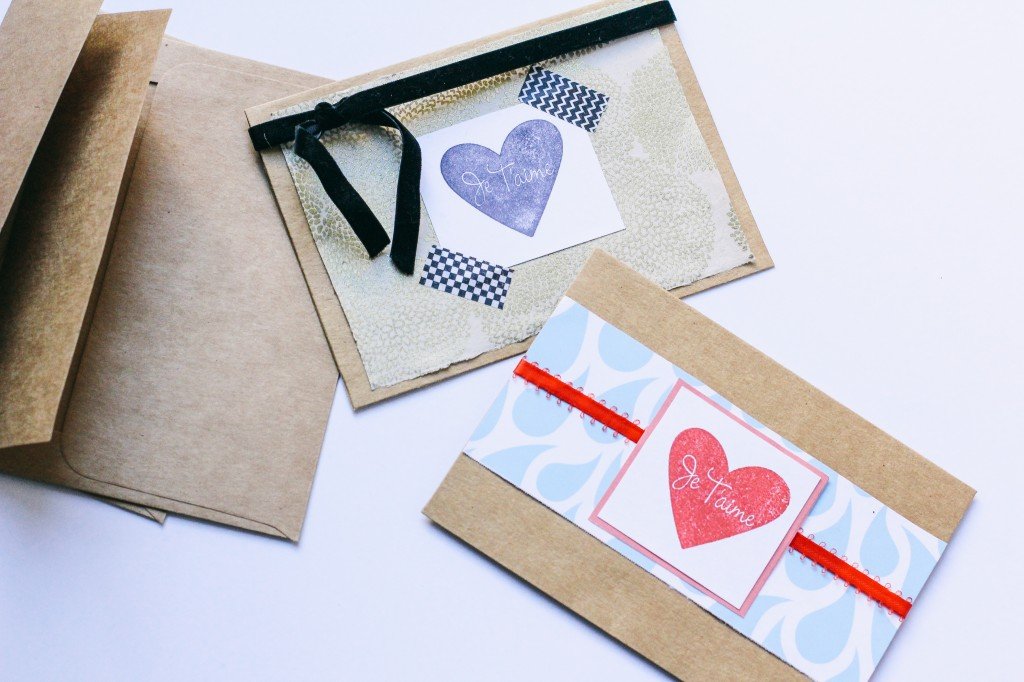
HANDMADE JE T'AIME CARDS
There's something about receiving a pretty card in the mail that lifts the spirit. Perhaps it's the weight of it in your hands as you examine the envelope to discern the sender. Or maybe it's the tactile quality of the paper as you tear open the flap, anticipating what's inside. To receive a tangible sentiment in the midst of a modern world predominated by e-cards and text messages is a rare treat these days.
Which is why, when I have the extra time, I like to send handwritten sentiments to those I love. I like to imagine the smile on their lips and the twinkle in their eyes as they sift through and find an unexpected greeting in the pile of advertisements, solicitations, and other assorted junk mail.
True, Valentine's Day is hyper-commercialized as a day of courtly love, but I think it's also a perfectly fine day for acknowledging the other significant others in your life—friends, siblings, parents, kids, relatives. With whomever you celebrate the holiday, make their heart skip a beat at the mailbox this Valentine's Day by sending a handmade card with a heartfelt salutation.
MATERIALS:
Blank cards and envelopes
Patterned paper
Card stock
Adhesive tape runner
Rubber stamp
Ink pad(s)
Ribbon
Washi tape
Scissors
Ruler
Pencil/eraser
Note: You can completely customize these cards by choosing your own colors, paper patterns, ribbons and rubber stamps. I got the Je T'aime stamp, ink pads, blank cards and ribbons at Michaels. The patterned paper is from Paper Source and the washi tape is from Target. Michaels usually has coupons up to 40% off available in their Weekly Ad.
DIRECTIONS:
For the black and gold version
1. Measure and cut out a rectangle on the patterned paper that is 1/2-inch shorter in length and width than the blank card.
2. Center the patterned paper on front of the blank card and secure with adhesive tape runner.
3. Press heart stamp into black ink pad and then press stamp onto white card stock. Cut out heart from the card stock in a square shape, leaving 1/4-inch white border around the heart.
4. Center heart on patterned paper and secure with adhesive tape runner. Secure two corners of heart with washi tape.
5. Tie ribbon (I used black velvet) around front of card, securing with a knot in the top left corner.
For the red and turquoise version
1. Measure and cut out a strip on the patterned paper that is the same length as the card but only 1/2 of the card's width.
2. Center the patterned paper on front of the blank card and secure with adhesive tape runner.
3. Tie ribbon (I used red satin) around front of card and secure with a knot on the inside flap.
4. Press heart stamp into red ink pad and then press stamp onto white card stock. Cut out heart from the card stock in a square shape, leaving 1/4-inch white border around the heart.
5. Cut out a square on solid red card stock that's 1/4-inch longer and wider than the heart stamped on the white card stock.
6. Center square of red card stock on patterned paper and secure (on top of ribbon) with adhesive tape runner; then center heart onto red card stock and secure with adhesive tape runner.


